# User Groups
In the ViewZen platform, **User Groups** are groups of users that are organized based on specific roles (not viewzen "Account" roles), departments, or other criteria. User groups help manage access and permissions more efficiently, allowing administrators to assign permissions to a group as a whole rather than individual users.
User Group
### Creating a User Group
If you are the owner or administrator of your organization, or if your role gives you the permission to "Create Usergroups", you can create a new user group.
{% hint style="info" %}
You can add any number of users to a user group. You can even add an "Invited User" to a User group. This ensures that once the invited user accepts the invite, they will receive the permissions assigned to the user group.
{% endhint %}
To create a User Group
{% stepper %}
{% step %}
#### Sign In
Sign in to your account using your credentials. After signing in, you will be directed to the "[Accounts homepage](https://viewzenlabsug.gitbook.io/userguides/viewzen-accounts/images-and-media)".
{% endstep %}
{% step %}
#### Click on "Usergroups" from the left hand sidebar
This action will display a list of all current usergroups in the organization.
{% endstep %}
{% step %}
#### Click "+ Add Usergroup"
To create a usergroup, click on the “Add Usergroup” button on the top right corner of the “Usergroups” page.
{% endstep %}
{% step %}
#### Enter User Group Information
Step 3 will open a panel on the right side where you can enter the details of the new user group. The following information needs to be provided.
* **Name**
* **Shortname** – The shortname uniquely identifies the user group within a tenant. Duplicate shortnames for user groups are not permitted.
* **Description**
* **Members -** Search and add users as members of the user group.
{% endstep %}
{% step %}
#### Click "Add Usergroup"
After entering the required information, click the "Add Usergroup" button and you are done creating your new usergroup
{% endstep %}
{% endstepper %}
Create user groups
### List of User Groups
The "User Groups" page shows a list of usergroups, and by default, all usergroups are displayed in a card layout. The usergroup card displays important information such as the user group name, shortcde and description. It also displays the number of members in the User Group.
Users can switch to the "Table" or "Grid" layout, where all usergroup details are displayed in a tabular format.
User Group Lists
#### My Usergroups
My usergroup displays the list of user groups that you have created.
***
The usergroup card is clickable. Upon clicking an usergroup, you will be able to:
### Edit a User Group
Edit usergroup
Usergroups can be edited. The following details of the usergroup are editable
* Name
* Shortname
* Description
### Add / Remove members
The **Bulk Upload** feature allows you to add multiple users to your organization at once, making it easy to onboard all your users at one go
To add / remove members
{% stepper %}
{% step %}
#### Click on "Usergroup"
This will open the user group details page, where the user group information can be modified.
{% endstep %}
{% step %}
#### On the "Members" section, click "Edit"
To add / remove members go to the Edit option
{% endstep %}
{% step %}
#### Remove Members
When the "Edit" option is clicked, it displays all users from the current organization. Users who are already added to the user group will have a  next to their name. Clicking on  will remove them from the user group.
{% endstep %}
{% step %}
#### Add Members
When the "Edit" option is clicked, it displays all users from the current organization.Users who are not already added to the user group will have a next to their name. Clicking on will add them from the user group.
{% endstep %}
{% endstepper %}
Add / remove users from a usergroup
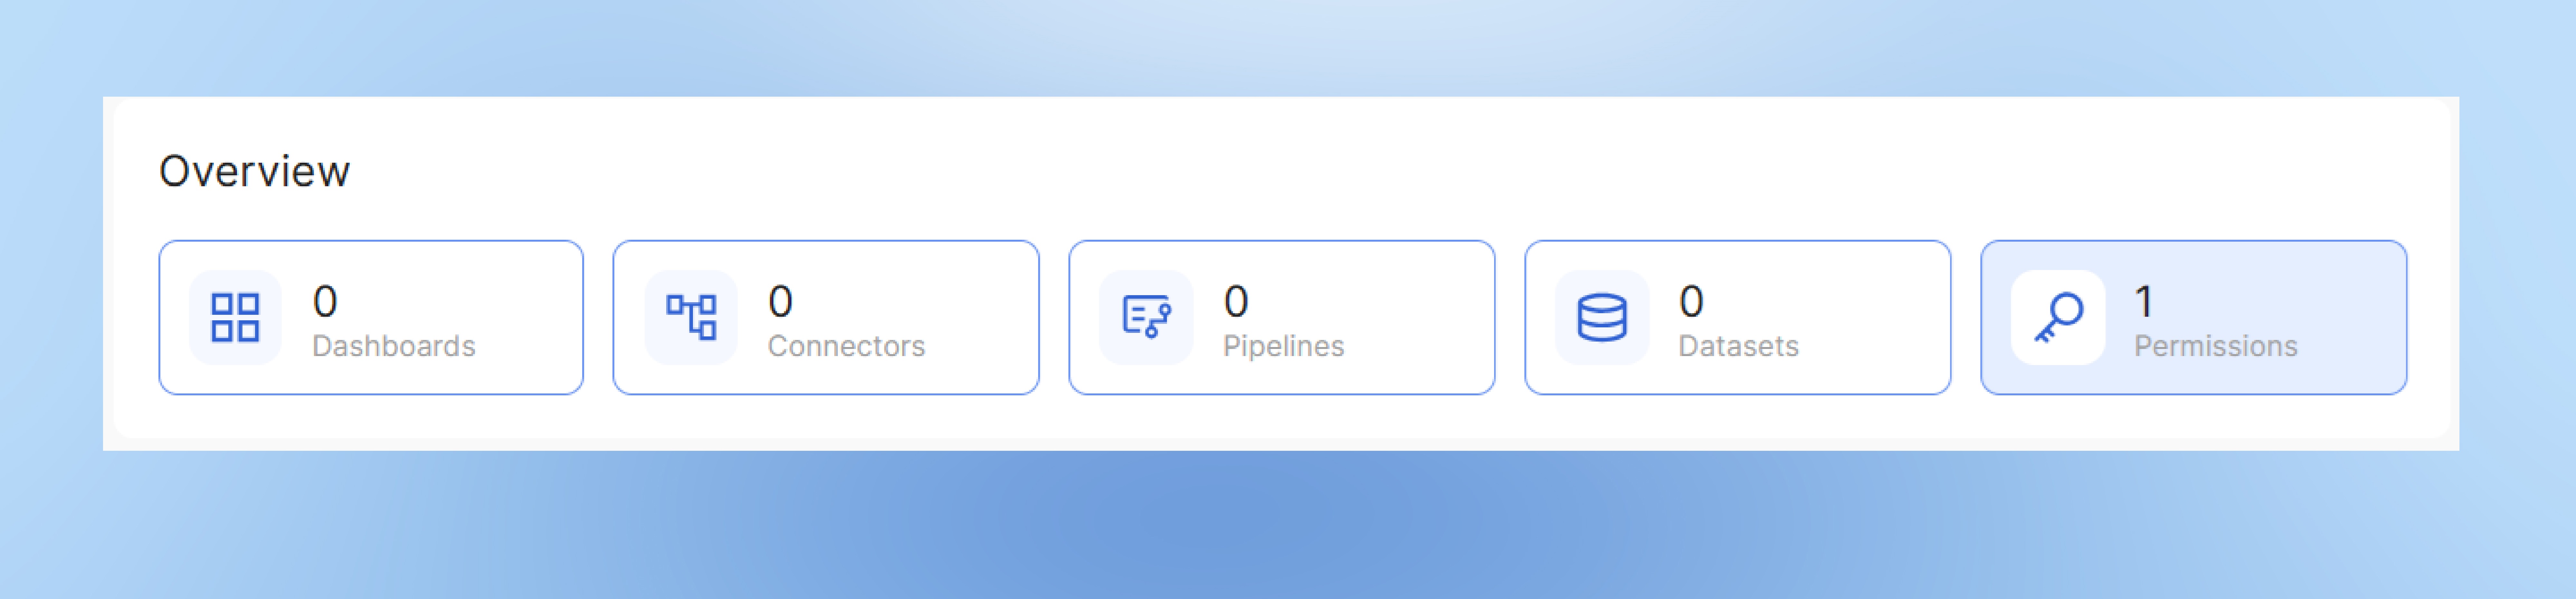
### Assign Permissions
Permissions are managed from the "Overview" section of the user group. This section displays access to key resources already available to the user group, such as the number of connectors, dashboards, pipelines, and more.
Overview
Both application and context-based permissions can be assigned to user groups. These permissions will apply to all users within the group. Click [Permissions ](https://viewzenlabsug.gitbook.io/userguides/viewzen-accounts/member-profile/permissions)for more information on application and [context-based permissions](https://viewzenlabsug.gitbook.io/userguides/viewzen-accounts/context-based-permissions).
To create new permissions or change the existing permissions of a user group
{% stepper %}
{% step %}
#### Go to the "Overview" section
{% endstep %}
{% step %}
#### Click "Permissions" card
{% endstep %}
{% step %}
#### Select "Application Permissions"
This will show the list of products that the user group currently has access to. Click "Edit" to modify the application permissions for the group.
Products that the group already has access to will be displayed with an "Allowed" label. Clicking on the "Allowed" label will remove access to that product for the user group.
Products that can be additionally given access to will have a "+ Allow" label next to them. To grant access to a product, click on the "+ Allow" button.
Application Permssions
{% endstep %}
{% step %}
#### Select "Context Based Permissions" to edit / add new permissions
Context based permissions enable granular access control. For e.g., A usergroup may be allowed to view or edit data only of a particular project or department. For more details, visit the "[Context-based permissions](https://viewzenlabsug.gitbook.io/userguides/viewzen-accounts/context-based-permissions)" section.
{% endstep %}
{% endstepper %}
{% hint style="info" %}
Since permissions can be assigned at multiple levels for a user, such as at various user groups, user level etc. conflicts may arise if different permission settings contradict each other. For example, one permission might grant access to certain resources, while another might restrict it.
In the case of such conflicts, the system follows a principle of granting **the minimum permissions** necessary for the user. This means that if a user is given conflicting permissions (such as being allowed and denied access to the same resource), the user will be granted the more restrictive or limiting permission to ensure security and prevent unauthorized access.
{% endhint %}